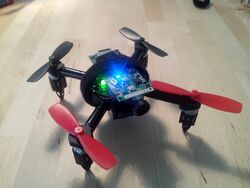
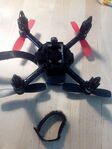
Micro brother
Status
Started and Finished: May 9 2013
Goal: equip an micro quadcopter with an onboard camera.
Who: Ardillo
Description
Well after some hours of Java programming I needed c0ffee and thought about an coffee project.
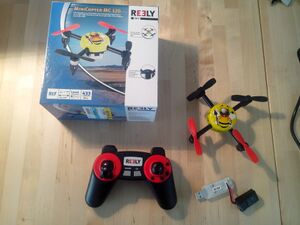
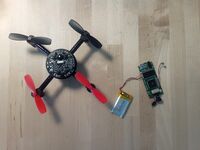
In my goodie stash I had an Microcopter from the brand Reely, I bought it once from Conrad. Back then it was a bit cheaper then the price for which you can buy it now.
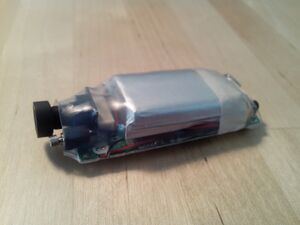
I had an very small video capture device as well, this one came from HobbyKing. So I wanted to combine the two together.
Specs quadcopter
Reely is the homebrand of Conrad a supplier in electronics. The Reely quadcopter is a very small one. It comes with an 433MHz controller. The quadcopter has the normal 4 axes which you can expect from a quadcopter. There is a small 2S LiPo battery which has a 7.4V and 350mA.
To charge the battery you can place it in an USB dongle which can only be used to charge the battery. The Reely MC120 can easily by controlled. There is a switch on the bottom of the vehicle which can be used to change the sensitivity. While doing this a led on the vehicle changes color. There are three levels:
- Beginner, LED is green
- Advanced, LED is orange
- Pro, LED is red
For more detailed specs look at the site of Conrad.
Specs video device
HobbyKing sells this camera to place it under a wing of a RC plane. This camera unit has it own LiPo battery which is a 3.7V 850mAh. With this battery the camera can record up to 3 hours. So approximatly it will be around 250mA.
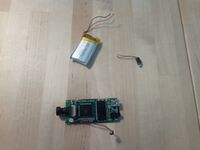
The device itself is coming from a normal commercial product an this is only its interns. This is a little annoying because it lacks a normal guide. There are three control buttons on the device and a fourth is the reset button. The guide can be found on the HobbyKing page. The bottomline is that it can take photo's and video, and both can also be triggered by any movement. So there are four use modes available for doing so.
The device can be connected to a tv through a AV cable which was included in the package. The data it records will be stored on a SDcard, which was not included.
There is also a microphone onboard, which will record the nice sounds of the props carving through the air.
Building
The video device has a vibration motor to give feedback when you push a button..? Ok I don't need that, so I removed it. I removed the original battery as well, else it will be to heavy to even lift off.
The battery of the quadcopter is placed on the bottom of the vehicle with some velcro.
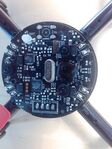
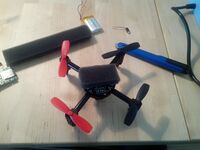
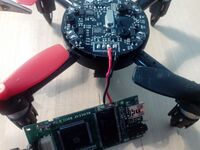
Because I want to get to the controls of the video device and I want to record my video's normal, and not upside down, the only place for the video device was on the top of the vehicle. So I needed to remove the cover and place some foam on top of the PCB in addition to isolate it against short circuiting and flying vibrations.
The battery of the vehicle is a 2S battery and the video device only needs half of the voltage and current. So I connected the video device only on one cell, which is kind of temporary-solution and not that professional.
For a solution to attach the video device to the vehicle I replaced the original velcro with a longer one. This one is connected like the original one but also wrapped tight on top of the vehicle for securing the video device. The microphone is embedded in the frame and sticks out at the bottom next to the battery holder.
Result
So will it fly, offcourse. Due to privacy I have no footage, but it works well.
